Have you ever tried digging a post hole and ended up frustrated with rocks, hard clay, or unstable soil? You are not alone. Many homeowners in Toronto struggle with post hole digging and end up with wobbly fence posts, uneven deck footings, or posts that rot too quickly.
If you want to know how to dig a post hole correctly, this guide is for you. I will show you the tools for digging post holes, tips for working with Toronto soil conditions, and step-by-step instructions for digging fence post holes, deck footing holes, and installing bollards. You will also learn when it makes sense to call professional post hole digging contractors in Toronto for safe and reliable results.
By the end, you will know exactly how to handle DIY post holes, avoid mistakes, and decide whether to hire professional post hole services like We Are Bollards to make the job faster and easier.
Tools & Materials Needed (Complete Checklist)
Before you start learning how to dig a post hole, it is important to gather the right tools and materials. Having everything ready will make your post hole digging easier, faster, and more accurate. Whether you are doing DIY post holes or thinking about hiring professional post hole digging contractors in Toronto, knowing the tools is the first step.
Manual Tools
If you plan to dig by hand, these tools will help:
- Post hole digger – essential for creating straight and even holes.
- Clamshell digger – good for removing soil in tight spots.
- Shovel and spade – for moving soil and cleaning the bottom of the hole.
- Digging bar – ideal for breaking tough clay or rocks in Toronto soil conditions.
- Hand auger – perfect for smaller or softer holes.
- Measuring tape – to make sure each hole reaches the right depth.
- Stakes and string line – helps you mark the exact locations for fence post holes, deck footing holes, or bollards.
Power Tools
For larger jobs or harder soil, power tools save a lot of effort:
- Gas auger – ideal for digging deep post holes quickly.
- Hydraulic auger – works well in dense clay and rocky soil.
- Skid-steer or mini excavator auger – best when you have multiple holes to dig.
Materials
After digging, these materials help set your posts correctly:
- Gravel – forms a stable base and improves drainage.
- Concrete mix – secures posts for long-lasting support.
- Water or fast-setting concrete – to prepare the concrete properly.
- Sonotube – useful for concrete footings for decks or bollards.
- Wooden or metal posts – for your fence, deck, or bollard installation.
Tip for Toronto Soil
Toronto soil conditions, especially clay soil, can make digging more difficult. Use a digging bar or power auger to loosen the soil before removing it. This helps you dig clean and accurate holes every time.
With the right tools and materials ready, you are fully prepared to start digging your post holes the right way. Following this checklist ensures your DIY post holes or professional installations are safe, straight, and strong.
Before You Dig: Rules, Permits & Safety
Before you start digging your post holes, taking a few safety steps and checking the rules will save you time, money, and headaches. Even if you plan to do DIY post holes, following these guidelines makes the process safer and smoother.
1. Check for Underground Utilities
Toronto soil can hide more than just rocks. Water pipes, gas lines, and electrical cables run underground, and hitting them can be dangerous. Call Ontario One Call before you dig. They will mark any underground utilities so you can avoid them. This step is critical if you want to dig post holes safely and accurately.
2. Know Local Toronto Requirements
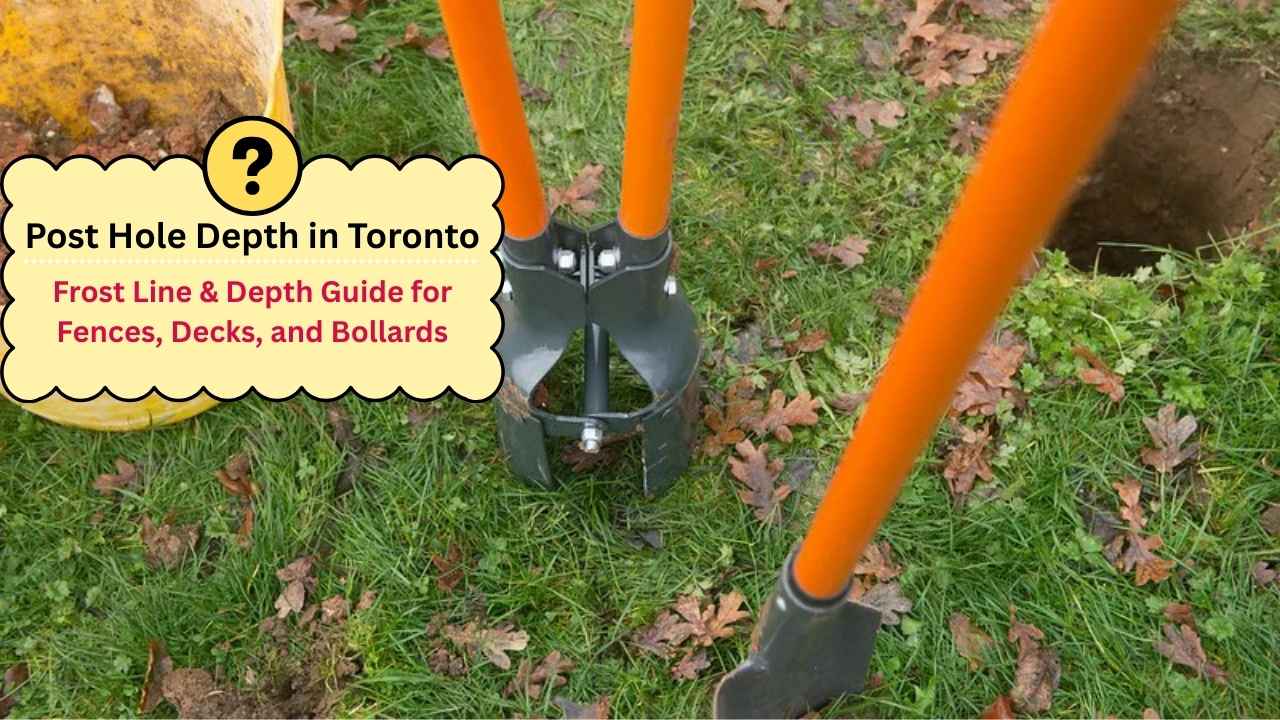
Different areas have rules for digging, especially for fences, decks, or deck footing holes. Check the frost line depth in Toronto to make sure your posts go deep enough. Some projects, like large decks, may require permits. Knowing what rules apply helps you avoid fines and ensures your post holes stay stable year-round.
3. Mark Property Lines Accurately
Measure carefully and mark your property lines with stakes and string. This prevents disputes with neighbors and ensures your fence, deck, or bollard posts stay in the right spot.
4. Safety Gear
Always wear gloves, boots, and eye protection when digging. Even a small DIY post hole can cause injuries if you are not careful.
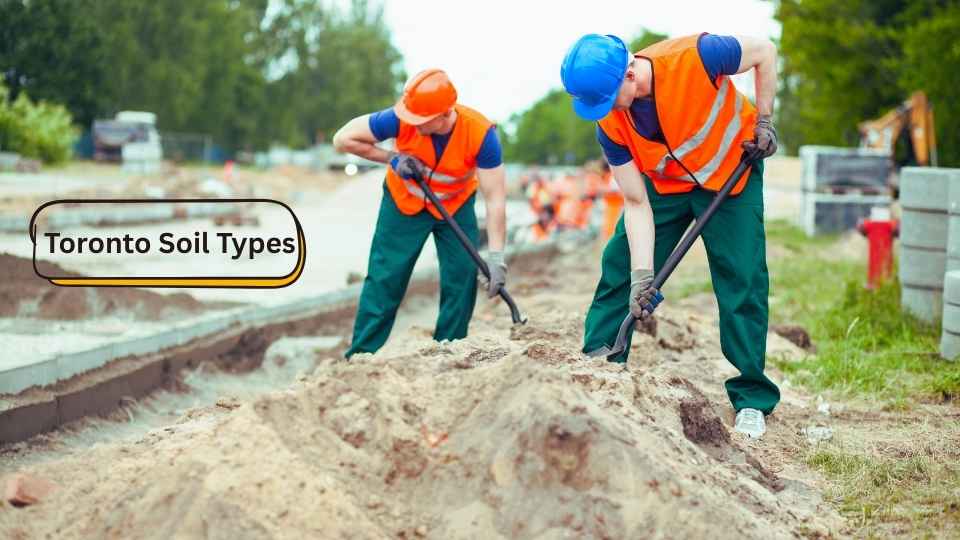
Understanding Soil Types (Critical for Post Holes)
Before you start digging, it helps to know the type of soil you are working with. Understanding Toronto soil conditions will make digging easier and ensure your post holes stay strong and stable. Different soils behave differently, and knowing what to expect will save you time and frustration.
1. Clay Soil
Clay soil is common in many areas of Toronto. It feels heavy and sticky, especially when wet. Digging in clay takes more effort, and the soil can stick to your tools. Use a digging bar or a power auger to loosen the soil before removing it. Clay soil also holds water, so make sure you add gravel at the base of your post hole for proper drainage.
2. Rocky Soil
If your soil has lots of rocks, it can be hard to dig clean holes. Start by removing the large rocks with a digging bar or pickaxe. For multiple post holes, using a hydraulic auger or mini excavator auger makes the job much faster.
3. Sandy Soil
Sandy soil is easier to dig but can collapse into the hole while you work. Dig slowly, and use your hands or a small spade to remove loose sand from the bottom. Adding gravel at the base helps keep posts stable.
4. Frozen or Hard Soil
Winter or very compacted soil can make digging nearly impossible with hand tools. Use a gas or hydraulic auger to break through hard soil. Always check local frost line depth to ensure your posts go deep enough to stay stable year-round.
Knowing your soil type also helps you decide whether to dig DIY post holes or call professional post hole digging contractors in Toronto. When you understand the soil, you can dig faster, keep your posts straight, and avoid surprises.
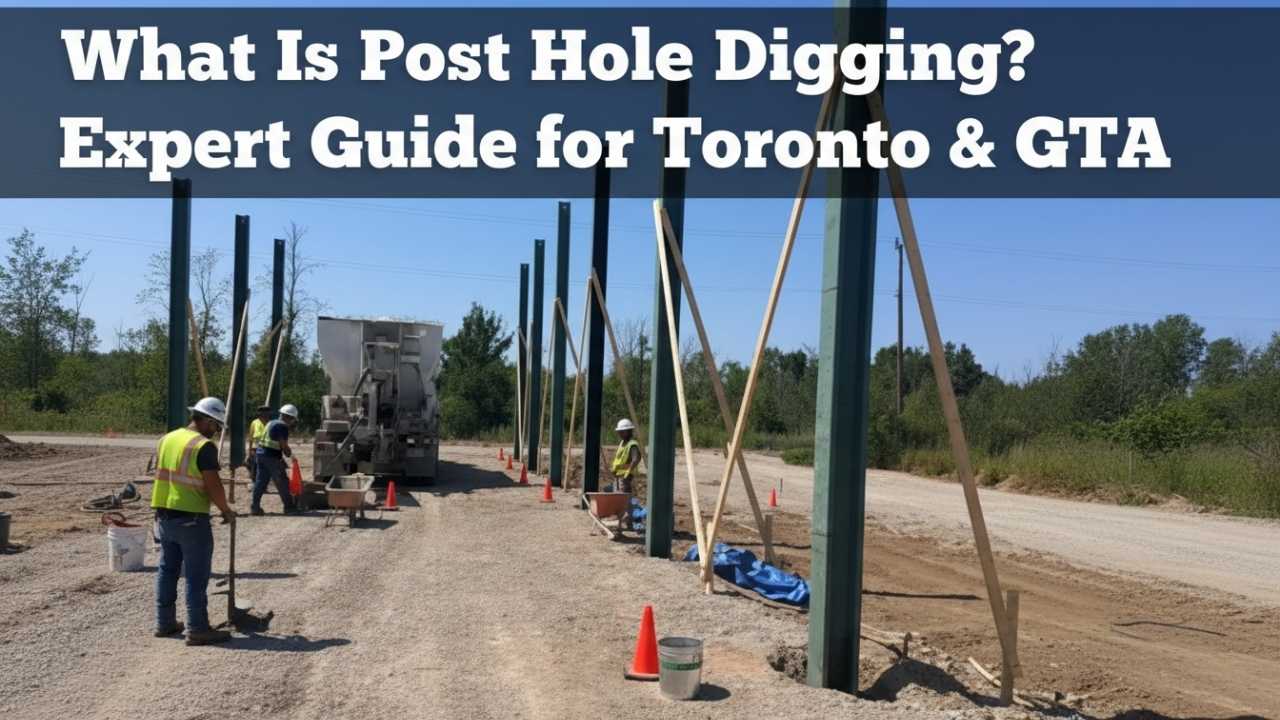
Step-by-Step Guide: How to Dig a Post Hole
Digging a post hole doesn’t have to be complicated. If you follow these steps, you can do it yourself or know exactly what professional post hole digging contractors in Toronto do.
Step 1: Mark Your Post Locations
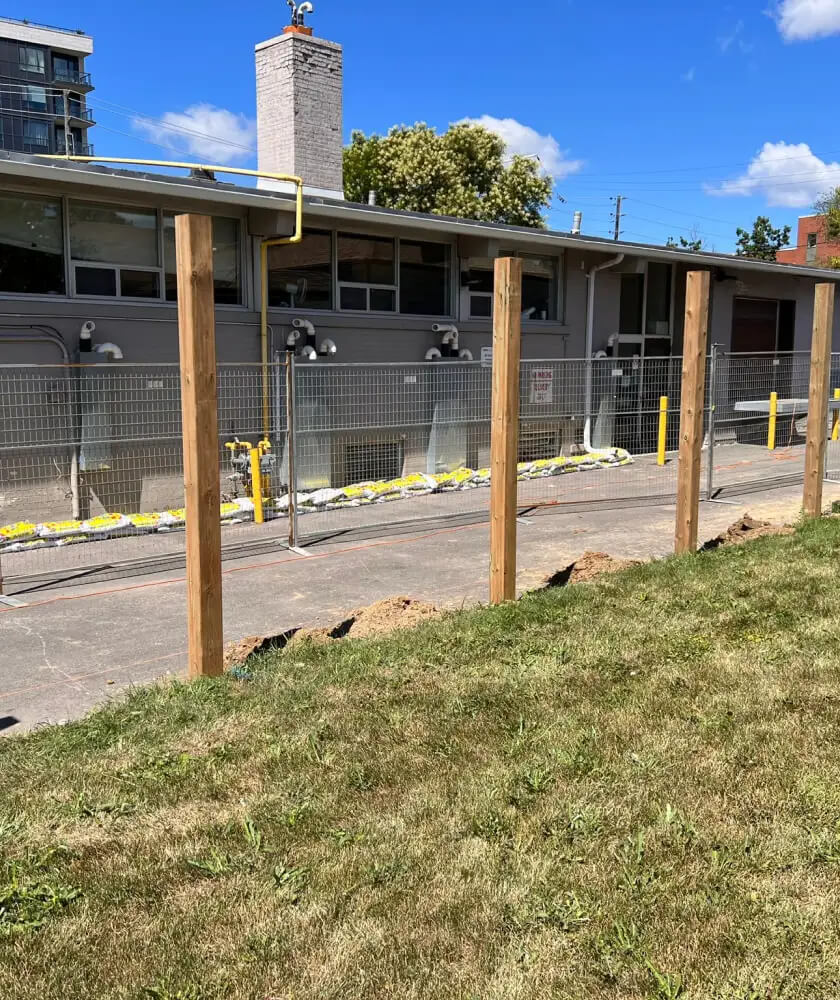
Measure carefully and mark where each post will go. Use stakes and string to create a straight line. This helps you dig accurate fence post holes, deck footing holes, or bollard posts.
Step 2: Start a Pilot Hole
Begin with a small hole to loosen the soil. This prevents the sides from collapsing as you dig deeper.
Step 3: Dig the Hole Properly
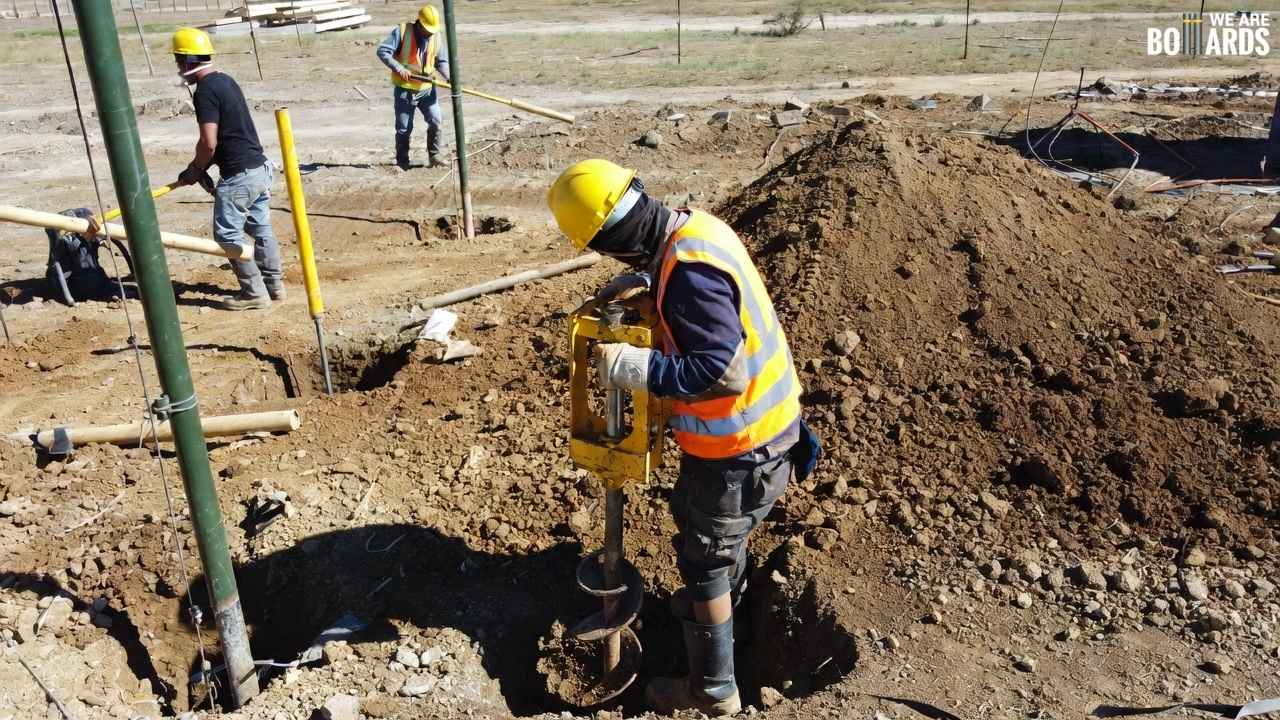
Use a post hole digger for manual digging or an auger for tougher soil. Keep the walls straight and make sure the hole reaches the right depth. For Toronto soil conditions like clay or rocky soil, a digging bar or power auger can make the job much easier.
Step 4: Check Depth Requirements
Different posts need different depths. Fence posts, deck footings, and bollards usually need to go below the frost line. Use a measuring tape to be precise.
Step 5: Clean the Hole Bottom
Remove any loose soil and make the bottom flat or slightly bell-shaped. This ensures your posts sit firmly.
Step 6: Add Gravel Base
Pour a few inches of gravel at the bottom for drainage and stability. Compact it lightly before setting the post.
Step 7: Set the Post
Place the post in the hole and check it with a level from multiple angles. Brace it with stakes to keep it straight.
Step 8: Backfill and Secure
Fill the hole with soil or concrete depending on your post type. Fast-setting concrete works well for quick projects, and gravel works for lighter posts. Make sure the post stays level as you fill.
Following these steps will help you dig strong, stable post holes. Whether you are doing DIY post holes or hiring professional post hole digging services in Toronto, these steps make the process easier and more predictable.
Special Techniques for Difficult Conditions
Sometimes digging post holes is harder than expected. Rocky soil, clay, frozen ground, or tight spaces can make the work frustrating. Here are some tips to help you tackle tough conditions.
1. Digging in Hard Clay
Clay soil in Toronto can be heavy and sticky. Use a digging bar or power auger to loosen the soil. Avoid adding too much water, or it will turn into a sticky mess. Loosen the clay first, then remove it in small amounts.
2. Digging in Rocky Soil
If you hit rocks, remove the large ones with a digging bar or pickaxe. For multiple holes or heavy rock, a hydraulic auger or mini excavator auger works best. These tools make digging faster and save your energy.
3. Digging in Frozen Ground
Winter digging can be tricky. Frozen soil is tough on hand tools. Use a gas or hydraulic auger to break through the hard ground. Make sure your post holes go below the frost line so posts stay stable during freeze and thaw cycles.
4. Narrow Backyard or Tight Spaces
Sometimes your yard is small or crowded. A hand auger or micro-auger can reach spots that larger equipment cannot. Work slowly and carefully to avoid damaging nearby plants, fences, or utilities.
Knowing these techniques will make digging difficult post holes manageable. Even if you decide to hire professional post hole digging contractors in Toronto, understanding the challenges helps you plan better and get the job done right.
Common Mistakes to Avoid
Even small mistakes can cause big problems when digging post holes. Avoiding these common errors saves you time, money, and frustration.
1. Digging Too Shallow
Many people make the hole too shallow. Always dig deep enough for fence posts, deck footings, or bollards. Remember the Toronto frost line—posts must go below it to stay stable.
2. Skipping Gravel or Improper Base
Not adding gravel at the bottom can lead to poor drainage and rotting posts. Compact the gravel before setting the post.
3. Posts Not Level
A wobbly post looks bad and weakens the structure. Use a level and check from multiple sides while bracing the post.
4. Wrong Hole Diameter
A hole that is too narrow or too wide can cause instability. Match the hole size to the post size for strong and secure installation.
5. Ignoring Utility Checks
Skipping the step to call Ontario One Call can be dangerous. Always check for underground utilities before digging any post holes.
6. Poor Concrete or Backfill Choices
Using the wrong concrete mix or poor backfill soil can weaken the post. Follow proper mix instructions and ensure the backfill is compacted properly.
How Long Does It Take to Dig a Post Hole?
You probably wonder how much time it takes to dig a post hole. The answer depends on a few things like soil type, tools, and the size of your posts.
If you dig DIY post holes by hand, it can take anywhere from 30 minutes to 2 hours per hole. Clay soil or rocky soil slows you down, while sandy soil is easier.
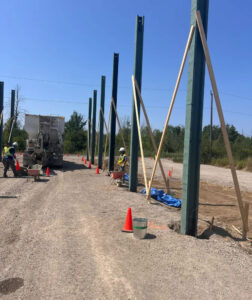
Using a power auger or calling professional post hole digging contractors in Toronto makes the job much faster. A hydraulic auger can dig a single post hole in just a few minutes, even in hard or rocky soil.
Weather also affects timing. Wet or frozen ground makes digging harder and can add extra time.
Knowing how long it takes helps you plan your project better. Whether you do it yourself or hire post hole digging services in Toronto, you can finish your fence, deck, or bollard posts on schedule.
Cost Breakdown: DIY vs Hiring Post Hole Contractors in Toronto
When planning your post hole project, cost is important. Let’s look at the difference between doing it yourself and hiring professional post hole digging contractors in Toronto.
DIY Post Holes
If you dig the holes yourself, you save on labor, but you need tools and materials. You might rent a post hole digger or auger, buy gravel and concrete, and spend hours digging. For a small fence or deck, DIY can be cheaper, but it takes time and effort. Toronto soil conditions like clay or rock can make digging harder and longer.
Hiring Professionals
Professional post hole digging services in Toronto handle everything fast and safely. They bring hydraulic augers, know how to deal with tricky soil, and follow proper depth for frost line compliance. You pay for the service, but you save time, avoid mistakes, and get strong, stable holes every time.
Typical Cost Comparison
- DIY: Tool rental, concrete, gravel, and your time
- Professional: Price per hole includes digging, gravel, concrete, and cleanup
Hiring experts is often worth it if you have many posts, large decks, or tough soil. Whether DIY or professional, knowing the cost helps you plan your fence, deck, or bollard project better.
When You Should Not Dig Post Holes Yourself
Digging post holes might seem simple, but some situations are tricky and risky. Knowing when to call professional post hole digging contractors in Toronto can save you time, money, and frustration.
1. Deep Footings or Large Structures
If your project needs very deep holes, like for a heavy deck, pergola, or large fence, it’s better to hire professionals. They have the right tools to reach proper depth and ensure stability.
2. Rocky or Hard Soil
Toronto soil conditions, like dense clay or large rocks, make digging by hand slow and exhausting. Professional post hole digging services in Toronto handle tough soil safely and quickly.
3. Close to Utilities
If underground utilities are nearby, digging yourself can be dangerous. Professionals know how to check for utilities and avoid accidents.
4. Tight Deadlines
If you need the project done quickly, DIY digging may slow you down. Professionals work efficiently and finish on time.
5. Winter or Frozen Ground
Frozen soil is tough to dig. It takes extra effort and special tools. Hiring experts ensures your posts go in correctly, even in winter.
In these cases, calling professional post hole digging contractors in Toronto gives you peace of mind. You get safe, strong, and accurate post holes without the stress.
Benefits of Hiring Professional Post Hole Digging Contractors
Digging post holes might seem easy, but it takes skill, experience, and the right tools to do it safely and correctly. If you want your project to go smoothly, hiring professional post hole digging contractors makes a big difference.
Here’s why it helps:
- Save Time and Effort
Professional contractors know exactly how deep and wide each hole needs to be. They work fast and efficiently, so you don’t spend hours digging by hand. - Ensure Safety
Digging can be risky if the soil is unstable or there are underground utilities. Experts assess the site and use safe techniques to avoid accidents and damage. - Accurate Results Every Time
Post holes need to be straight and properly spaced for stability. Professionals guarantee precise measurements, so your fences, posts, or structures stay strong and level. - Reduce Costs in the Long Run
Mistakes in digging can cause delays or structural problems later. Hiring contractors prevents costly fixes, saving money over time. - Access to Proper Tools
Professional teams bring all the right equipment for any soil type or project size. You don’t have to buy or rent expensive tools yourself. - Expert Advice and Support
Contractors can guide you on spacing, depth, and the best materials for your posts. They make sure your project follows rules and local regulations.
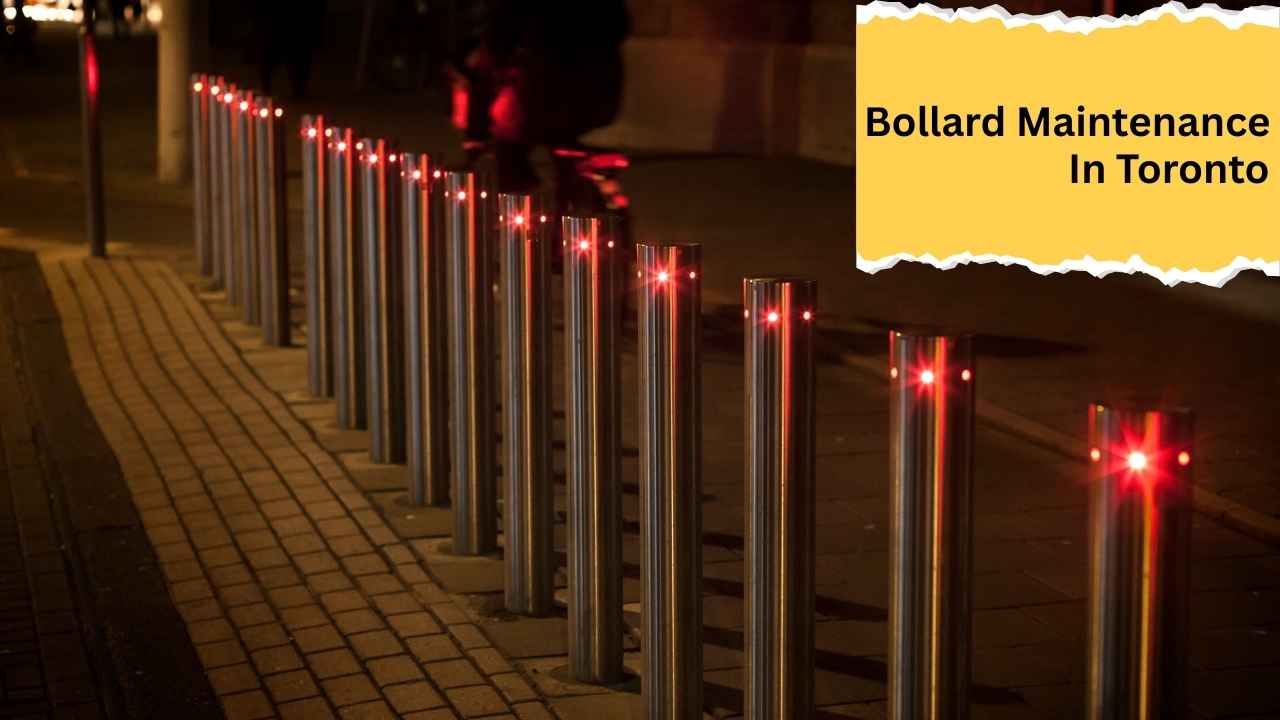
Why Choose We Are Bollards for Post Hole Digging in Toronto
If you need post holes dug quickly, safely, and correctly, you want a team that knows what they’re doing. At We Are Bollards, we handle every project with care and precision, so your posts stay strong and your project stays on track.
Here’s why working with us makes sense:
- Skilled and Experienced Team
Our post hole digging contractors have the experience to handle any soil or project size. They know the right depth and spacing for every type of post. - Save Time and Effort
Manual digging can take hours, and mistakes can cost even more. We work efficiently with the right tools to finish on time, letting you focus on the rest of your project. - Safety Comes First
We check the site for underground pipes, wires, or unstable ground before digging. This prevents accidents and keeps your property safe. - Accurate and Reliable Results
Your posts need to be straight, stable, and spaced correctly. Our team ensures every hole is precise, so your fence, sign, or structure stands strong. - Professional Tools and Equipment
We bring all the necessary equipment, so you don’t have to rent or buy anything. Our tools make digging faster, cleaner, and more efficient. - Support Every Step of the Way
From planning to final placement, we guide you through the process. You’ll always know what’s happening and feel confident in the results.
Choosing We Are Bollards means getting your post holes done right the first time. You save time, avoid mistakes, and have a team you can trust for safe, reliable, and professional service in Toronto.
FAQs: Post Hole Digging in Toronto
We know digging post holes can feel tricky. Here are the questions homeowners and DIYers ask the most.
- How deep should a post hole be?
For fences and small posts, dig below the frost line in Toronto, usually around 42–48 inches. Deck footings or bollards need deeper holes depending on the structure’s weight. - What diameter hole do I need for a 4×4 post?
A 4×4 post needs a hole about 10–12 inches wide. Bigger posts or heavy decks require wider holes for stability. - Can I dig post holes in winter?
You can, but frozen soil makes it very hard. Using a mechanical or hydraulic auger works best. Sometimes hiring post hole digging contractors in Toronto is the safer choice. - Do I need concrete for fence posts?
Concrete improves stability and keeps posts from moving. For lighter fences, compacted gravel can work. Always check the frost line and soil type. - How long does concrete take to dry?
Fast-setting concrete can set in 20–40 minutes, while regular concrete takes 24–48 hours to cure. Check manufacturer instructions. - How do I stop my fence post from rotting?
Use pressure-treated wood, set a gravel base under the post, and make sure water drains away. Concrete also helps prevent rot. - What is the Toronto frost line?
The frost line is how deep the ground freezes in winter. For Toronto, it’s about 42–48 inches. Your post holes must go below this line for stability. - Can I rent an auger instead of hiring contractors?
Yes, you can rent manual or powered augers. But if your soil is clay-heavy, rocky, or frozen, hiring professional post hole services can save time and avoid damage. - How far apart should fence posts be?
Typically, space posts 6–8 feet apart for standard fences. Heavier gates or decks may need closer spacing. - How do I dig a hole without an auger?
Use a manual post hole digger, clamshell digger, or shovel. Start with a small pilot hole, keep walls straight, and remove loose soil regularly.
Conclusion
Digging post holes right makes your fences, decks, and posts strong and safe. Always check your soil, dig below the frost line, and mark utilities before you start.
Tough soil, big projects, or tight spaces? Hiring professional post hole services in Toronto saves time, keeps your property safe, and ensures lasting results.
We Are Bollards can handle it all accurate depth, proper alignment, and clean work for fences, decks, pergolas, or bollards. Call us today and get your posts done right.